The Ultimate Guide to Siding Installation: Choosing the Right Material for Your Home
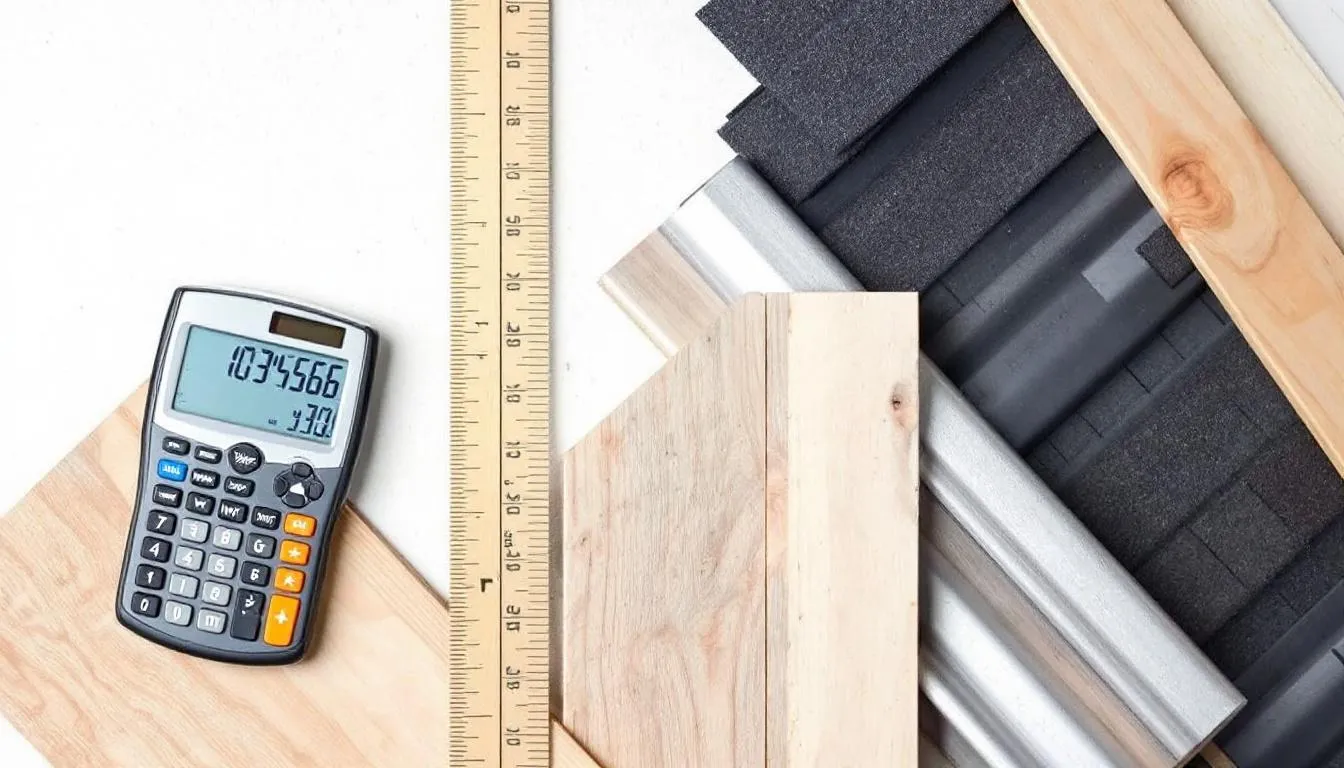
Wondering how to pay for a new roof? There are several options available to help you manage this expense. This article will cover insurance coverage, financing through roofing companies, personal loans, home equity loans, and even government programs. By the end, you’ll know the best way to fund your new roof. Key Takeaways Understanding the cost factors for a new roof, such as material type, roof design complexity, and labor costs, is essential before exploring financing options. Homeowners insurance may cover part of the roof replacement costs, but it’s crucial to review coverage details, deductibles, and specific policy limitations. Various financing options are available for roof replacement, including personal loans, home equity loans, credit cards, and government programs, each with distinct pros and cons. Assessing Roof Replacement Costs Understanding the various factors that influence the cost of a new roof is essential before considering financing options. The total cost of a roofing project can vary significantly based on several key elements. Firstly, the type of roofing material you select plays a significant role in the overall cost. For instance, asphalt shingles are generally more affordable than metal or slate roofing. Additionally, other components like underlayment, vents, and flashing add to the total expense. Another factor to consider is the complexity of your roof design, including: The number of angles and facets The steepness of the roof pitch, which can drive up both labor and material costs Accessibility issues related to the roof, such as limited space for equipment and workers, leading to increased costs due to additional labor required. Lastly, labor costs, which are influenced by the skill level and speed of the workers, are a major factor in roof replacement pricing. Operating expenses of a roofing company, including insurance and vehicle costs, as well as other costs, are also factored into the pricing of roofing projects. Comparing quotes from different roofing contractors can help you understand significant differences in costs and the rationale behind them. Homeowners Insurance Policy Many homeowners might not realize that most homeowners’ homeowners insurance policy could potentially cover only a portion of the cost of a new roof. However, there are several factors to consider when determining if this is an option for you. Firstly, the type of coverage you have and the cause of the roof damage are crucial. For example, if a tree falls through your roof during a storm, claiming insurance coverage for such apparent damage is often easier. However, it’s important to start the claim process before any repair work begins. Your insurance company will send an insurance adjuster to assess the damage, and a roofing contractor can help identify storm damage and relay that information accurately. Many homeowners mistakenly believe that their insurance will cover most of the replacement costs without considering deductibles and specific policy limitations. Contacting your insurance agent helps clarify coverage details and whether you qualify for an insurance claim for roof replacement. Factors like the insurance company, type of coverage, and cause of damage will influence the percentage of repair costs covered. If your policy does limited warranties offer coverage for roof replacement, it can substantially protect your finances and save homeowners a significant amount when you pay for a new roof. Make sure your policy covers potential natural disasters and other unforeseen events regarding roofs, including replacement cost considerations. Financing Through Roofing Companies
Wondering how to pay for a new roof? This guide covers options like paying with cash, using loans, credit cards, and government programs. Learn which method suits your budget best. Key Takeaways Homeowners can finance a new roof through several methods including cash payments, credit cards, personal loans, home equity loans, government grants, and roofing company financing, each with different terms and risks. Using credit responsibly is crucial when opting for credit cards or personal loans, as they may carry high interest rates that can lead to debt accumulation if not managed properly. Consulting a financial advisor can help homeowners evaluate their options and make informed decisions regarding roof financing, ensuring they choose the method that best fits their financial situation. Pay for a New Roof with Cash or Check Paying for a new roof with cash or check remains the most straightforward and cost-effective method. This method: Helps homeowners avoid interest rates and processing fees, ideal for those with readily available funds. Typically involves making an initial deposit. Requires completing the payment once the roof installed is finished. Ensures you only pay a fixed amount without any hidden costs. Moreover, cash payments eliminate the complexities of managing loan repayment schedules and the risk of accumulating debt. Most homeowners can directly negotiate with roofing contractors, potentially securing better deals with reputable roofing companies that prefer upfront payments. This approach not only saves more money in the long run but also simplifies the transaction process, making it an attractive option for those who can afford a long term lease outright. Using Credit Cards for Roof Financing For homeowners in need of quick access to funds, using credit cards for roof financing can be a convenient option. Many roofing companies accept credit card payments, allowing you to finance your roofing project without delay. Additionally, if you have a credit card with rewards or a 0% introductory interest rate, you can earn benefits and avoid interest for a limited time. However, it is crucial to be mindful of the high interest rates associated with credit cards, which can average around 21.37% if not paid off promptly. Additionally, transaction fees ranging from 3% to 5% can add to the overall cost. To make the most of this financing option, it is advisable to pay off the balance before the high interest rates kick in and consider cards with introductory interest-free periods. While credit cards offer a practical solution for immediate roofing expenses, homeowners must use them responsibly to avoid falling into debt. Carefully consider factors such as interest rates, rewards, and credit limits before deciding on this financing method. When used wisely, credit cards can provide a flexible and efficient way to finance your roofing project. Personal Loans for Roof Replacement Personal loans are another viable option for financing a roof replacement. Key features include: They are unsecured, meaning they do not require collateral, making them suitable for homeowners without significant assets. Loan amounts typically range from $1,000 to $100,000, depending on the lender. Repayment terms usually span from two to seven years. Interest rates for personal loans can vary widely, from 6% to 36%, based on factors such as credit score, income, and other debts. Most lenders offer features like fast funding and no fees, making the application process smoother. It’s advisable to gather necessary documents, such as income verification, before applying to streamline the approval process. Securing a personal loan allows homeowners to save homeowners cover roof replacement costs and spread payments over time. Home Equity Loans and HELOCs Home equity loans and a home equity line of credit (HELOC) present attractive financing options for homeowners with significant equity built up in their homes. These secured loans typically offer lower interest rates compared to unsecured loans because they use your home as collateral. A home equity loan provides a lump sum upfront, with fixed payments over a set term, making monthly expenses predictable. A HELOC functions as a revolving line of credit with the following features: Allows you to borrow against your home’s equity as needed during an initial draw period, usually lasting ten years. Can have either fixed or variable interest rates, which can affect repayment amounts and budgeting. Offers flexibility, making it suitable for homeowners who may face varying expenses over time. However, understanding the risks associated with these financing options is vital. Missing payments on a home equity loan or HELOC can lead to foreclosure, as your home serves as collateral. Consulting a financial advisor can help determine whether a home equity loan or a HELOC aligns better with your financial situation and needs. Government Grants and Programs Government grants and programs offer another avenue for homeowners seeking roof financing. Programs like the FHA Title I Property Improvement Loan provide government-backed financial assistance for roof replacement, often with favorable terms and fixed interest rates. These loans do not require home equity, making them accessible to a broader range of homeowners. Eligibility for these programs typically depends on factors such as income, property type, and location, and not everyone qualifies. Some programs are specifically targeted at groups like veterans and rural residents. Additionally, local and state governments may offer home repair programs that can help alleviate the financial burden of a roof replacement cost. Exploring these options helps homeowners find cost-effective solutions tailored to their needs, especially when they need to have their roof replaced. Roofing Company Financing Options Many roofing companies offer their own financing plans, providing a convenient alternative for homeowners. These in-house financing options often feature low monthly payments, allowing you to spread the cost of your roofing project and roofing projects over time. Roofers offer payment plans, and independent roofing contractors may also provide flexible financing options tailored to customer needs. Choosing a local roofing company can enhance your experience with personalized service. However, it’s essential to understand the terms and compare interest rates, as some roofing company financing plans can have higher interest rates than traditional loans. The application process is often streamlined, leading to quick approvals, but homeowners should read the fine print and ensure they are getting a fair deal. This ensures you make an informed decision that aligns with your financial situation. Homeowner's Insurance Coverage Homeowner’s insurance can play a significant role in covering roof repair costs, depending on the specifics of your policy and the cause of the roof damage. Commonly covered events include damage from hail, wind, fallen trees, or natural disasters, while damage due to neglect or wear and tear is typically not covered. Before insurance will contribute to repair costs, homeowners usually need to pay a deductible, which can range from $500 to $2,500 or more. It is crucial to maintain and document the condition of your roof, as an insurance claim may be denied based on factors like the roof’s age or lack of maintenance. Additionally, personal property coverage in a homeowners insurance policy can assist with costs if interior items are damaged due to a roofing issue. Understanding your insurance policy and maintaining your roof ensures adequate limited warranties offer coverage in case of damage, potentially saving significant out-of-pocket expenses when working with an insurance adjuster and an insurance agent from an insurance company to substantially protect your assets. Comparing Roof Financing Options When comparing roof financing options, consider factors like interest rates, loan terms, and potential hidden fees. Variable interest rates associated with certain financing options can lead to unpredictable monthly payments, making it crucial to evaluate the stability of your financial situation. A solid credit history can significantly lower the interest rates on roof financing, while some options may approve loans based on home equity rather than credit scores. Consulting a financial advisor can help establish a plan tailored to your individual financial needs and goals. This professional guidance ensures that you choose the financing option that best aligns with your budget and long-term objectives. Carefully weighing the pros and cons of each method helps you make an informed decision that minimizes costs and maximizes benefits. Whether you opt for a personal loan, home equity loan, or a government program, understanding the terms and conditions will help you manage your roofing project effectively. How to Improve Your Credit Score for Better Rates Improving your credit score can open the door to better financing rates for roof installation. A higher credit score generally leads to lower interest rates, making loan repayments more manageable. Qualifying for a personal loan, often needed for roof financing, typically requires great credit scores in the mid-600s or higher. To boost your good credit score, focus on timely credit card payments, reducing your debt-to-income ratio, and maintaining a low balance on your credit cards. Taking these steps enhances your credit rating, securing more favorable terms for roof financing and ultimately saving money. Benefits of Financing a New Roof
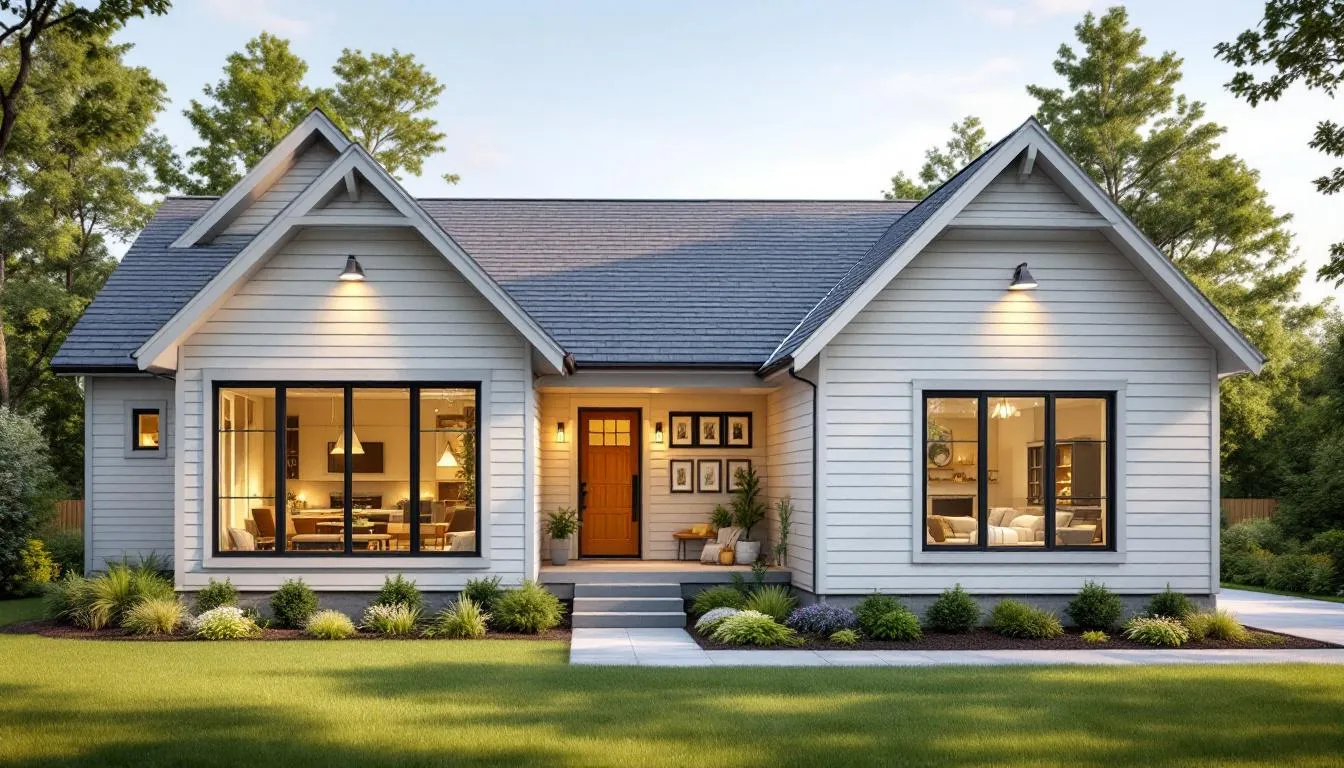
Are you looking to improve your home’s energy efficiency and comfort? Understanding the key benefits of insulated siding for your home can provide solutions. This article explores how insulated siding enhances energy savings, comfort, durability, and curb appeal. Key Takeaways Insulated vinyl siding improves energy efficiency by minimizing heat transfer, resulting in lower heating and cooling costs and a more sustainable home. The material enhances indoor comfort year-round by preventing drafts and reducing noise, making it an appealing choice for family living. Insulated siding offers durability, low maintenance, and increased curb appeal, contributing to higher property value and long-term cost savings for homeowners. Enhanced Energy Efficiency One of the most compelling reasons to choose insulated vinyl siding is its ability to significantly improve your home’s energy efficiency. Key benefits include: Minimizing heat transfer, reducing energy consumption and lowering heating and cooling costs. Provides continuous insulation that addresses thermal bridging and acts as a thermal barrier. Minimizes heat loss through wooden studs. Offers environmental benefits by creating a more energy-efficient home and reducing environmental impact. Insulated vinyl siding panels boast R-values ranging from 2.0 to 3.5, which are comparable to popular flat foam insulation materials. These R-values are determined under real-world conditions, ensuring accurate thermal performance measurements. As a result, homeowners can enjoy consistent indoor temperatures and less reliance on heating and cooling systems. Energy models indicate that insulated siding can reduce heating and cooling expenses by up to 16%, depending on various factors. This reduction in energy bills not only saves money but also contributes to fewer repairs and minimal maintenance of heating and cooling systems. Ultimately, choosing insulated vinyl siding is a smart investment that offers enhanced energy efficiency and increased durability. Increased Home Comfort
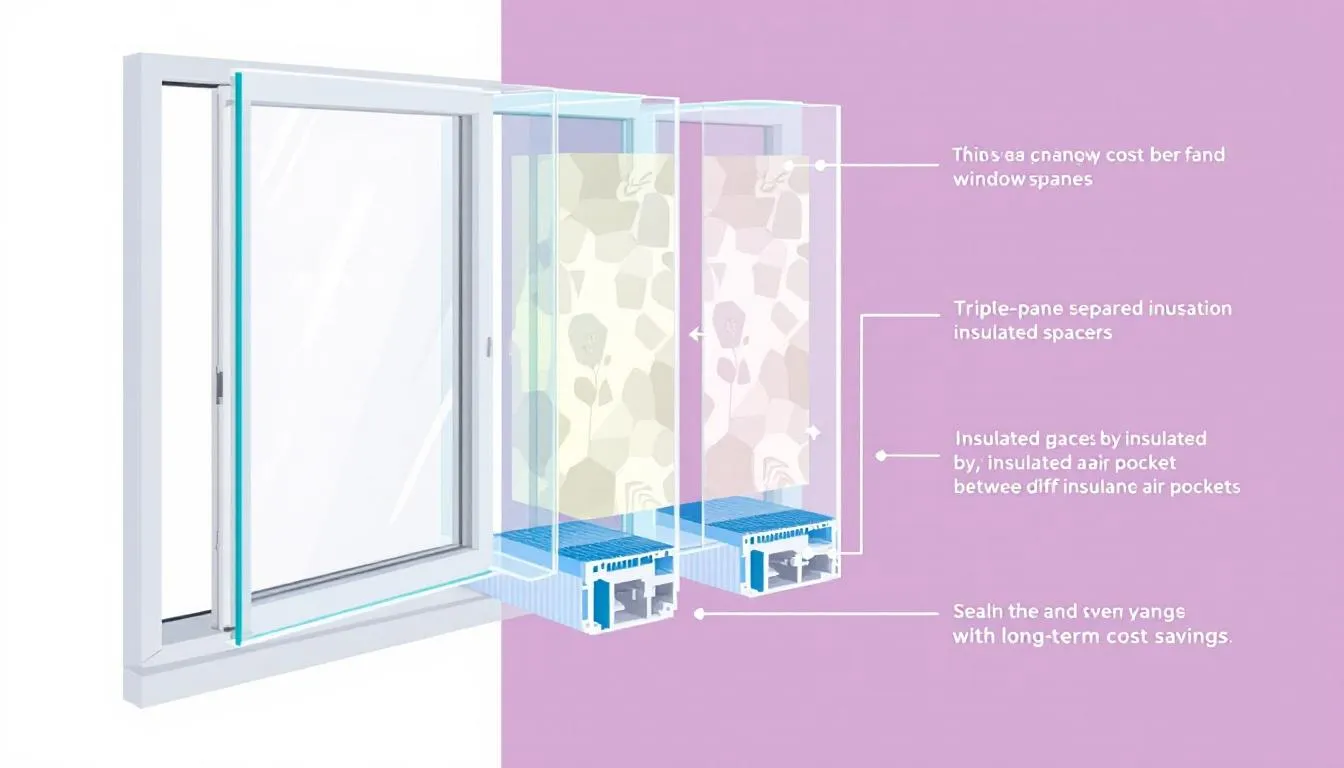
Wondering how much triple pane windows cost? Typically, you’ll spend between $400 and $3,540 per window. This complete guide will detail all the factors that influence these costs, helping you budget effectively. Key Takeaways Triple pane windows provide superior thermal insulation and energy efficiency compared to single and double pane options, making them a worthwhile investment for energy savings. The cost of triple pane windows is influenced by factors such as material choice, window size and style, and type of spacer gas, with average prices ranging from $400 to $3,540 per window, including installation. Investing in triple pane windows can enhance home value and provide additional benefits such as noise reduction and improved indoor comfort, particularly in extreme climates. Understanding Triple Pane Windows Triple pane windows are a significant upgrade from the traditional single and double pane windows. As the name suggests, these windows consist of three layers of glass panes, separated by insulating gases like argon or krypton. This construction significantly enhances their thermal insulation properties, making them highly energy-efficient. The presence of three panes not only improves insulation but also adds to the overall durability of the window, especially in comparison to triple pane models. The insulating gases used between the panes, typically argon or krypton, play a crucial role in reducing heat transfer and improving energy efficiency. These gases are denser than air, which means they slow down the movement of heat through the window. This makes triple pane windows an excellent choice for homeowners looking to reduce their energy bills and maintain a comfortable indoor environment year-round. Factors Influencing Triple Pane Window Costs Several factors influence the cost of triple pane windows, including: The materials used The size and style of the windows The type of spacer gas Customization, as custom triple-pane bay windows can be much more expensive than standard double-hung windows The reputation of the brand, with well-known brands often commanding higher prices Understanding these factors is crucial for homeowners looking to invest in triple pane windows. In the following subsections, we will delve deeper into how the choice of window frame material, the size and style of the window, and the type of spacer gas can affect the overall cost. Window Frame Material The window frame material is one of the most significant factors influencing the cost of triple pane windows. The most common materials used are: Vinyl: the most affordable, with costs ranging from $400 to $500 per window; low maintenance and offers good insulation. Wood Aluminum Fiberglass. Additionally, understanding the pane windows cost can help in making informed decisions. Wood framing, on the other hand, can be three to six times more expensive than vinyl. They provide a classic, high-end look but require more maintenance. Aluminum frames fall in the middle price range and are known for their strength and durability. Fiberglass windows, while more expensive than vinyl, strike a balance between cost and performance, offering excellent insulation and durability. Window Size and Style The size and style of the window also play a crucial role in determining the cost. Larger windows generally cost more due to the additional materials required. Custom shapes and sizes can further increase the cost compared to standard windows. For instance, a custom triple-pane bay window will be significantly more expensive than a standard double-hung window. Choosing a standard design over a custom one can help keep costs down. Standard sizes and styles are mass-produced, which means lower production costs and, consequently, lower material cost prices for the consumer. Spacer Gas Type The type of insulating gas used between the panes is another factor that can affect the cost of triple pane windows. Argon gas is commonly used due to its excellent insulation properties and cost-effectiveness. Krypton gas, while offering superior insulation compared to argon, tends to be more expensive. Using krypton gas can significantly enhance the energy efficiency of the windows but will also increase energy efficiency and the overall cost. Homeowners need to weigh the benefits of improved insulation against the additional expense to determine if the investment is worthwhile. Average Cost of Triple Pane Windows
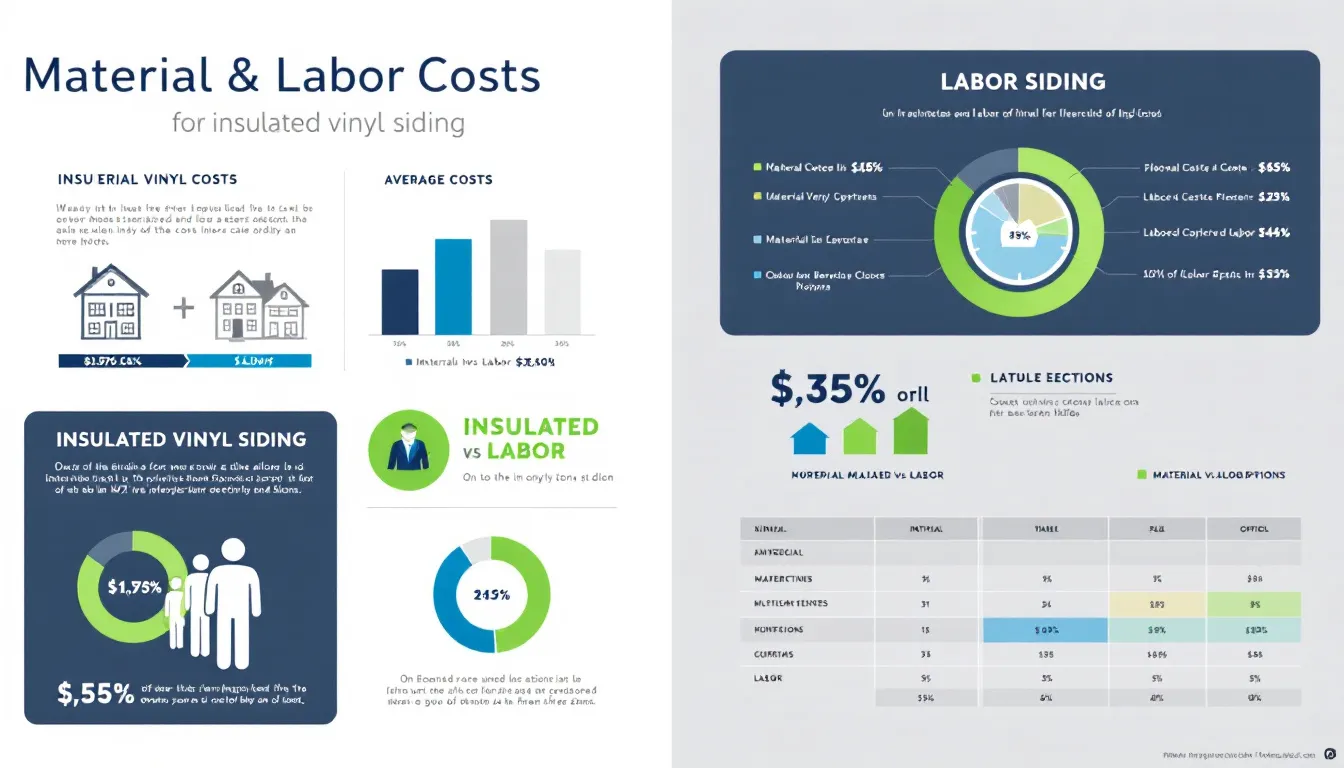
Considering insulated vinyl siding for your home? The main cost components, including insulated vinyl siding cost, consist of materials, generally $3 to $8 per square foot, and labor, typically between $1 and $3 per square foot. Knowing these expenses helps in planning your budget effectively. Key Takeaways Insulated vinyl siding costs range from $4 to $11 per square foot for total installation, influenced by material choice and labor expenses. Factors impacting costs include type and quality of siding, home size and design, and geographic location, with labor often comprising half of total expenses. While initially pricier than traditional vinyl siding, insulated options offer long-term savings through improved energy efficiency and durability, making them a worthwhile investment. Insulated Vinyl Siding Cost Overview Insulated vinyl siding is a cost-efficient option for homeowners looking to enhance their home’s energy efficiency and aesthetics. The material costs for insulated vinyl siding generally range from $3 to $8 per square foot, depending on the brand and insulation value. Labor costs for installing insulated vinyl siding typically range from $1 to $3 per square foot, influenced by the complexity of the installation and local labor rates. When combined, the total installation costs for insulated vinyl siding range from $4 to $11 per square foot. Material Costs The prices for insulated vinyl siding materials vary significantly, generally falling between $1.25 and $2.50 per square foot for different brands. This range reflects the diverse options available, from basic to premium products, each offering different levels of insulation and durability. The total cost of your project will depend heavily on the materials you choose, with higher-end options providing better performance and longer lifespans but at a higher cost. It’s important to consider the multiple factors that can affect material costs, including the type and thickness of the foam insulation. Thicker insulation not only improves energy efficiency but also increases the overall price due to its enhanced durability and performance. Investing in higher-quality materials means your new siding will last longer and need less maintenance, ultimately saving you money over time. Labor Costs Labor costs for installing insulated vinyl siding generally range from $1 to $3 per square foot. These costs can vary based on factors such as home accessibility, the complexity of the installation, and seasonal demand for contractors. Labor makes up a significant portion of the total cost, but it’s not an area to cut corners. Skilled labor ensures correct installation, maximizing benefits and longevity. Total Installation Costs When combining materials and labor, the total cost for installing insulated vinyl siding averages around $14 per square foot. This means that for an average-sized home, the overall cost can range from approximately $6,000 to $20,000, depending on factors like home size and location. Getting detailed quotes from contractors helps you understand all costs involved, including additional expenses for removing old siding and obtaining necessary permits. Factors Influencing Insulated Vinyl Siding Costs
When your roof is damaged and needs immediate attention in Long Island, emergency roof repair Long Island services are your go-to solution. They provide fast, reliable repairs to prevent further harm to your home. This article explains what these services include, offering peace of mind during a stressful situation. Key Takeaways Emergency roof repair services in Long Island prioritize immediate response to mitigate damage and protect homes from further issues. 24/7 availability ensures homeowners have access to urgent roofing assistance at any time, preventing minor problems from escalating. Proactive measures, such as routine inspections and the use of high-quality materials, are essential in maintaining roof integrity and preventing emergency situations. Immediate Emergency Roof Repair Services in Long Island Addressing roofing issues promptly is crucial to prevent further damage and costly repairs. Emergency roofing services are designed to provide urgent roof repairs and leak repairs, ensuring that your home remains safe and secure. Whether it’s a minor leak or significant storm damage, these services prioritize quick and effective solutions to mitigate any potential risks. Emergency roofing services in Long Island are tailored to meet homeowners’ unique needs. Rapid response teams handle various emergencies, from minor leaks to major storm damage repair. The goal is to provide reliable residential roofing and efficient repairs that restore the integrity of your roof and protect your home from further harm. Customer satisfaction is at the heart of emergency roofing services. Offering prompt and dependable repairs, roofing contractors aim to exceed expectations and provide peace of mind for homeowners. With a focus on quality workmanship and timely interventions, these reliable service options are a lifeline for those facing unexpected roofing challenges. 24/7 Availability for Roofing Emergencies
Need flat roof repair long island? This article will guide you through common roof issues, professional repair services, and the benefits of keeping your roof in top shape. Find out how to spot problems early and why expert care is essential for flat roof repair Long Island. Key Takeaways Professional flat roof repair services in Long Island provide tailored, reliable solutions and minimize the risks associated with DIY repairs, ensuring quality and compliance with local regulations. Common flat roof issues like leaks, water accumulation, and material degradation can be identified early through regular inspections, preventing costly repairs and extending the roof’s lifespan. Flat roofs offer cost efficiency, energy efficiency, and the potential for additional usable space, making them a valuable choice for property owners in Long Island. Why Choose Professional Flat Roof Repair Services in Long Island? Choosing professional flat roof repair services in Long Island offers numerous benefits over DIY efforts. Experienced contractors specialize in flat roof systems, providing effective solutions tailored to your needs. Their quality workmanship contributes to the longevity and durability of flat roofing systems, offering you peace of mind. When you hire experts, you minimize the risks associated with DIY repairs, which can often lead to more harm than good. Professional contractors adhere to strict timelines and quality standards, ensuring that the repair process is smooth and minimally disruptive to your daily life. Their expertise, along with an experienced team, is built on trust, superior craftsmanship, and individualized customer support, making them a reliable choice for your roofing needs. Licensed and insured contractors ensure compliance with local regulations and industry standards, safeguarding your investment. They prioritize satisfied customers’ satisfaction and open communication, addressing your concerns promptly and effectively. Choosing professional services not only assures high-quality repairs but also a safer and more efficient approach to tackling roofing issues. Common Flat Roof Issues and How to Spot Them
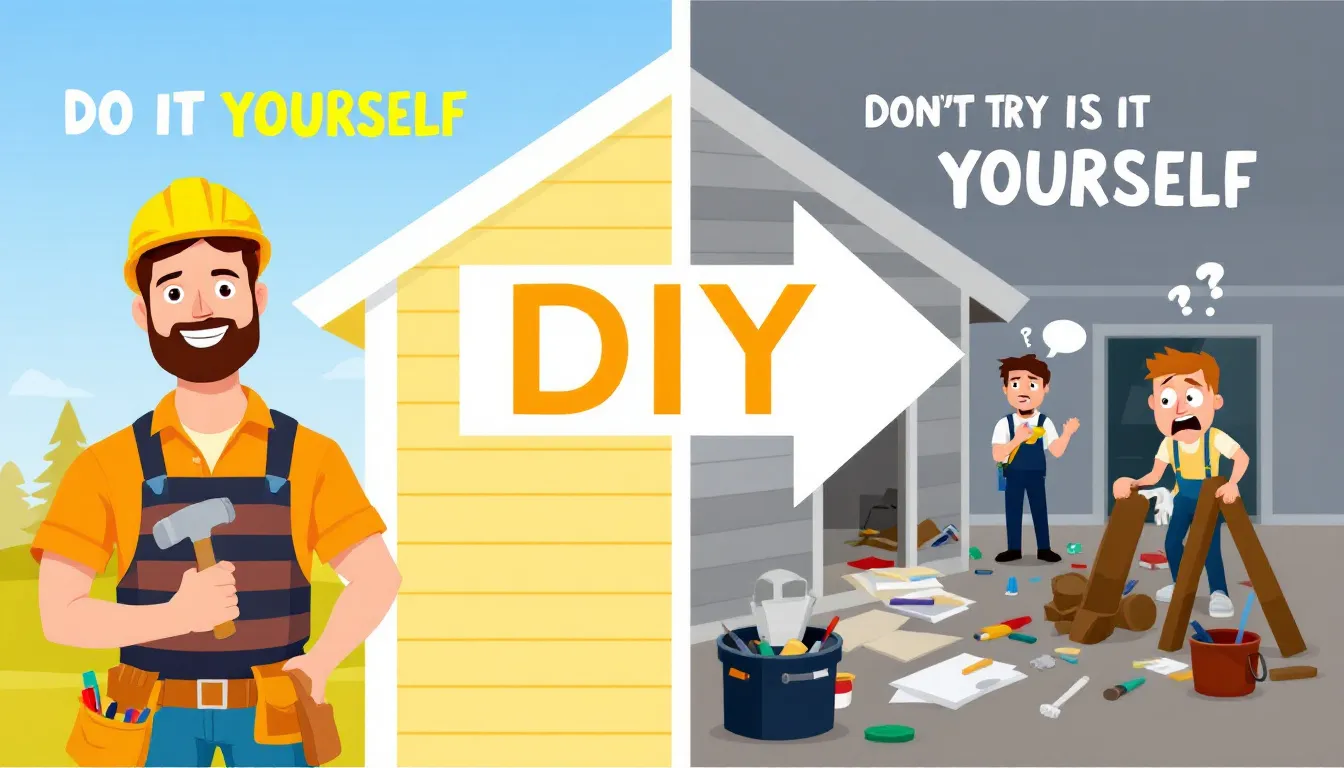
Deciding between DIY and professional siding installation depends on your budget, experience, and the complexity of the project. This guide explains the pros and cons of both approaches to help you make an informed decision. Key Takeaways DIY siding installation offers cost savings and project control but requires time, skill, and proper tools to avoid costly mistakes. Professional installation ensures quality and efficiency but comes with higher costs and less control over the timeline. The right choice depends on your experience level, project size, and whether you prioritize cost, quality, or convenience . DIY Siding Installation Pros: Cost-effective : You can save on labor and invest more in premium materials. Flexible timeline : Work at your own pace and maintain full control over the project. Sense of accomplishment : Learn new skills and enjoy the satisfaction of completing a major home improvement. Cons: Skill & tools required : Improper installation can lead to expensive repairs. Time-consuming : Projects often take longer than expected. Risk of errors : Mistakes may reduce siding durability or impact curb appeal.
Want to know how to maintain your siding for long-lasting durability? In this article, we’ll share essential tips to help you keep your siding in excellent condition. From regular inspections to specific cleaning techniques for different materials, we’ll guide you through everything you need to ensure your siding stands the test of time. Key Takeaways Regular inspections and prompt repairs are crucial for maintaining siding and preventing costly damage. Different siding materials require specific cleaning techniques to ensure longevity and aesthetic appeal. Investing in high-quality siding materials and conducting seasonal maintenance can significantly enhance durability and reduce repair needs. Regularly Inspect Your Siding Regular inspections are vital for maintaining your home’s exterior siding. They help inspect regularly and address potential issues before they escalate into major repairs. Look for signs of damage, such as: cracks holes warped panels peeling paint Regularly inspecting your siding can also prevent mold growth and mildew growth by stopping moisture entry at early stages. Keeping your siding free from debris and vegetation can prolong its lifespan and maintain its aesthetic appeal. Making regular inspections a habit allows you to catch problems early and take timely action. This practice helps maintain your home’s exterior and saves you from costly repairs down the line. Promptly handling minor repairs prevents extensive damage and deterioration, ensuring the longevity of your siding materials. Annual Cleaning Routine